
The complete guide
How to Choose a Carbon Filter for a Small Grow Tent
The problem nobody warns you about
People plan an indoor grow around light and water. They measure the tent, work out the shelf height, buy a timer. Then the first real crop of basil comes in, or a tray of compost gets turned, and the whole hallway smells like a garden centre.
That is the part a carbon filter solves. Not light, not watering, not heat. Smell. A sealed tent concentrates every scent inside it, and the moment air leaves through the exhaust duct, all of that scent goes with it into the room.
The fix is simple in principle. You put a bed of activated charcoal in the path of the air leaving your tent. Charcoal is full of tiny pores, and odour molecules stick to the walls of those pores as they pass through. What comes out the other end is far less noticeable.
How this filter is put together
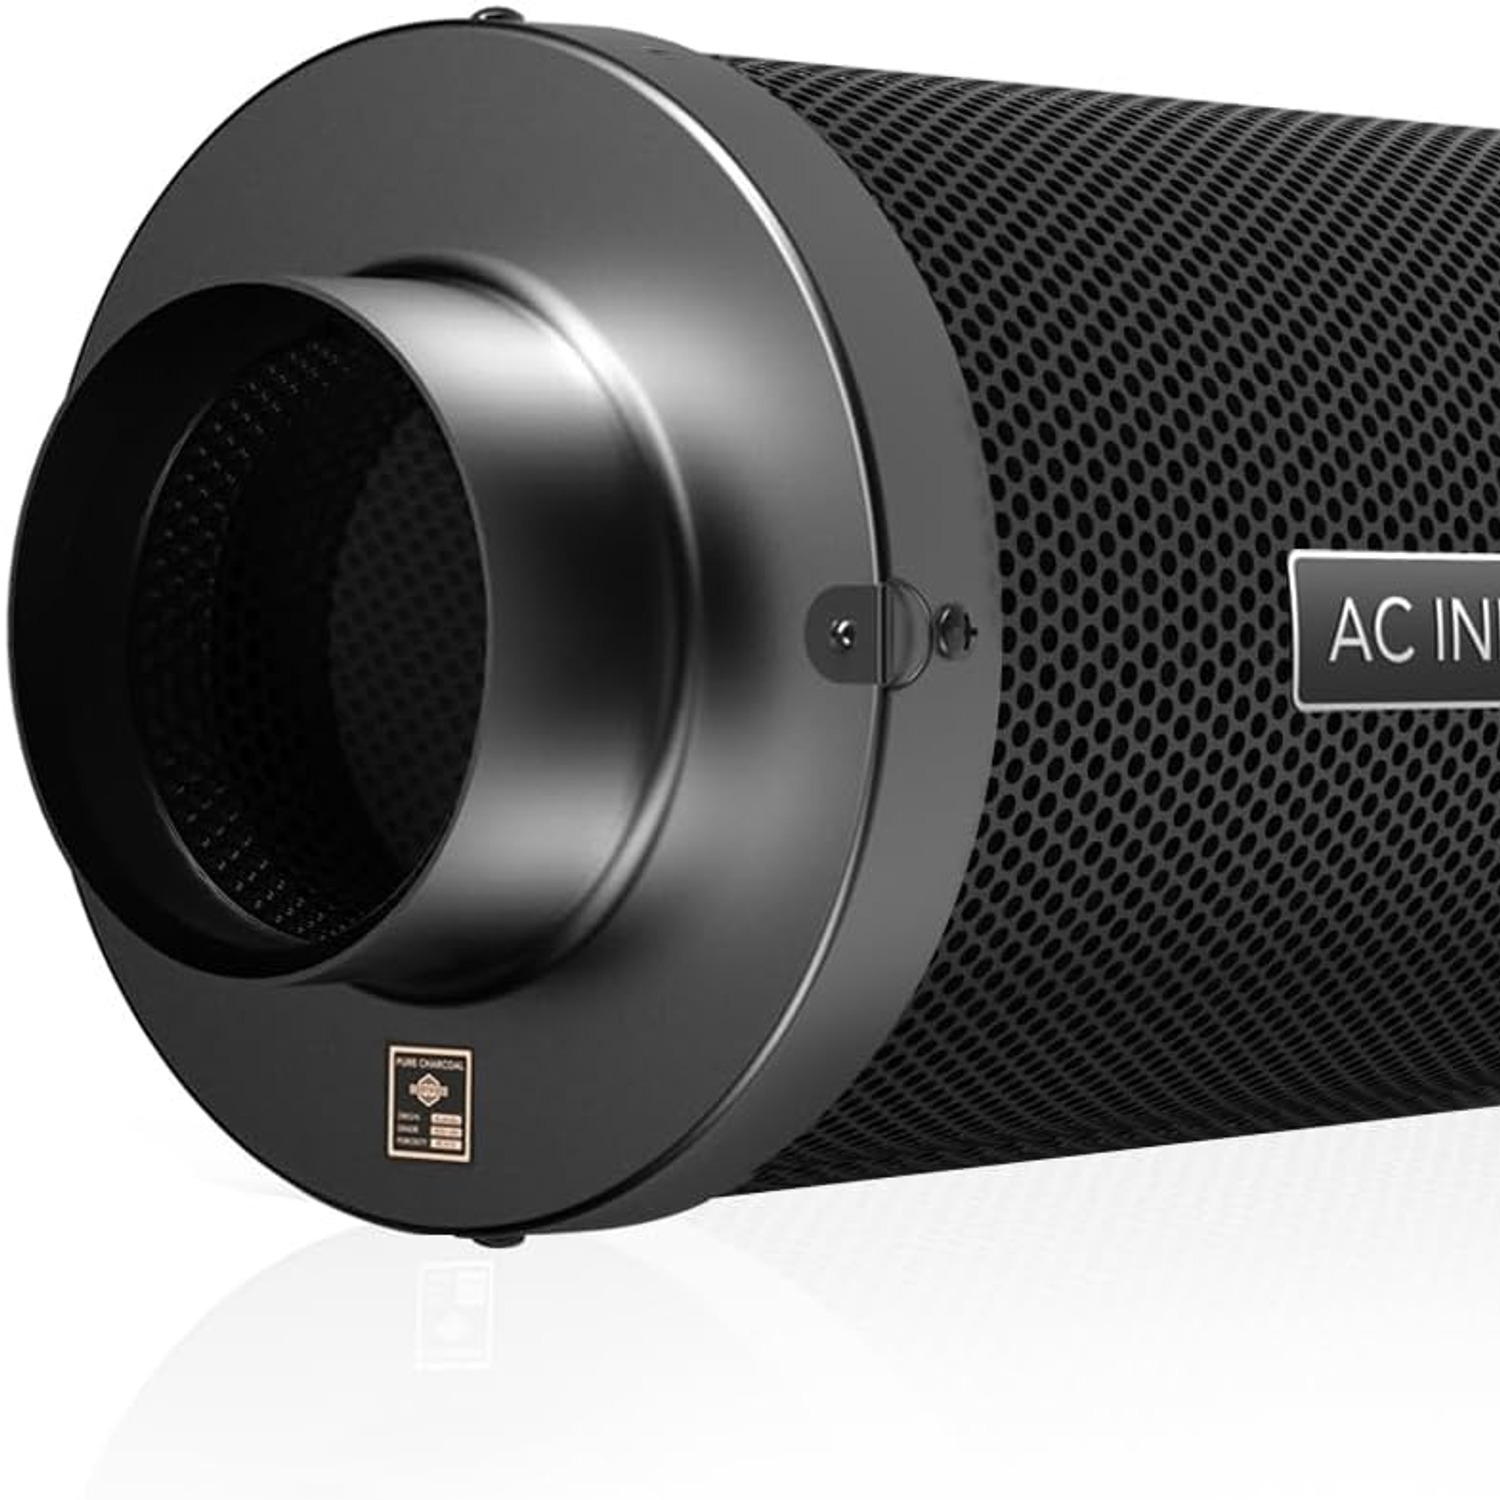
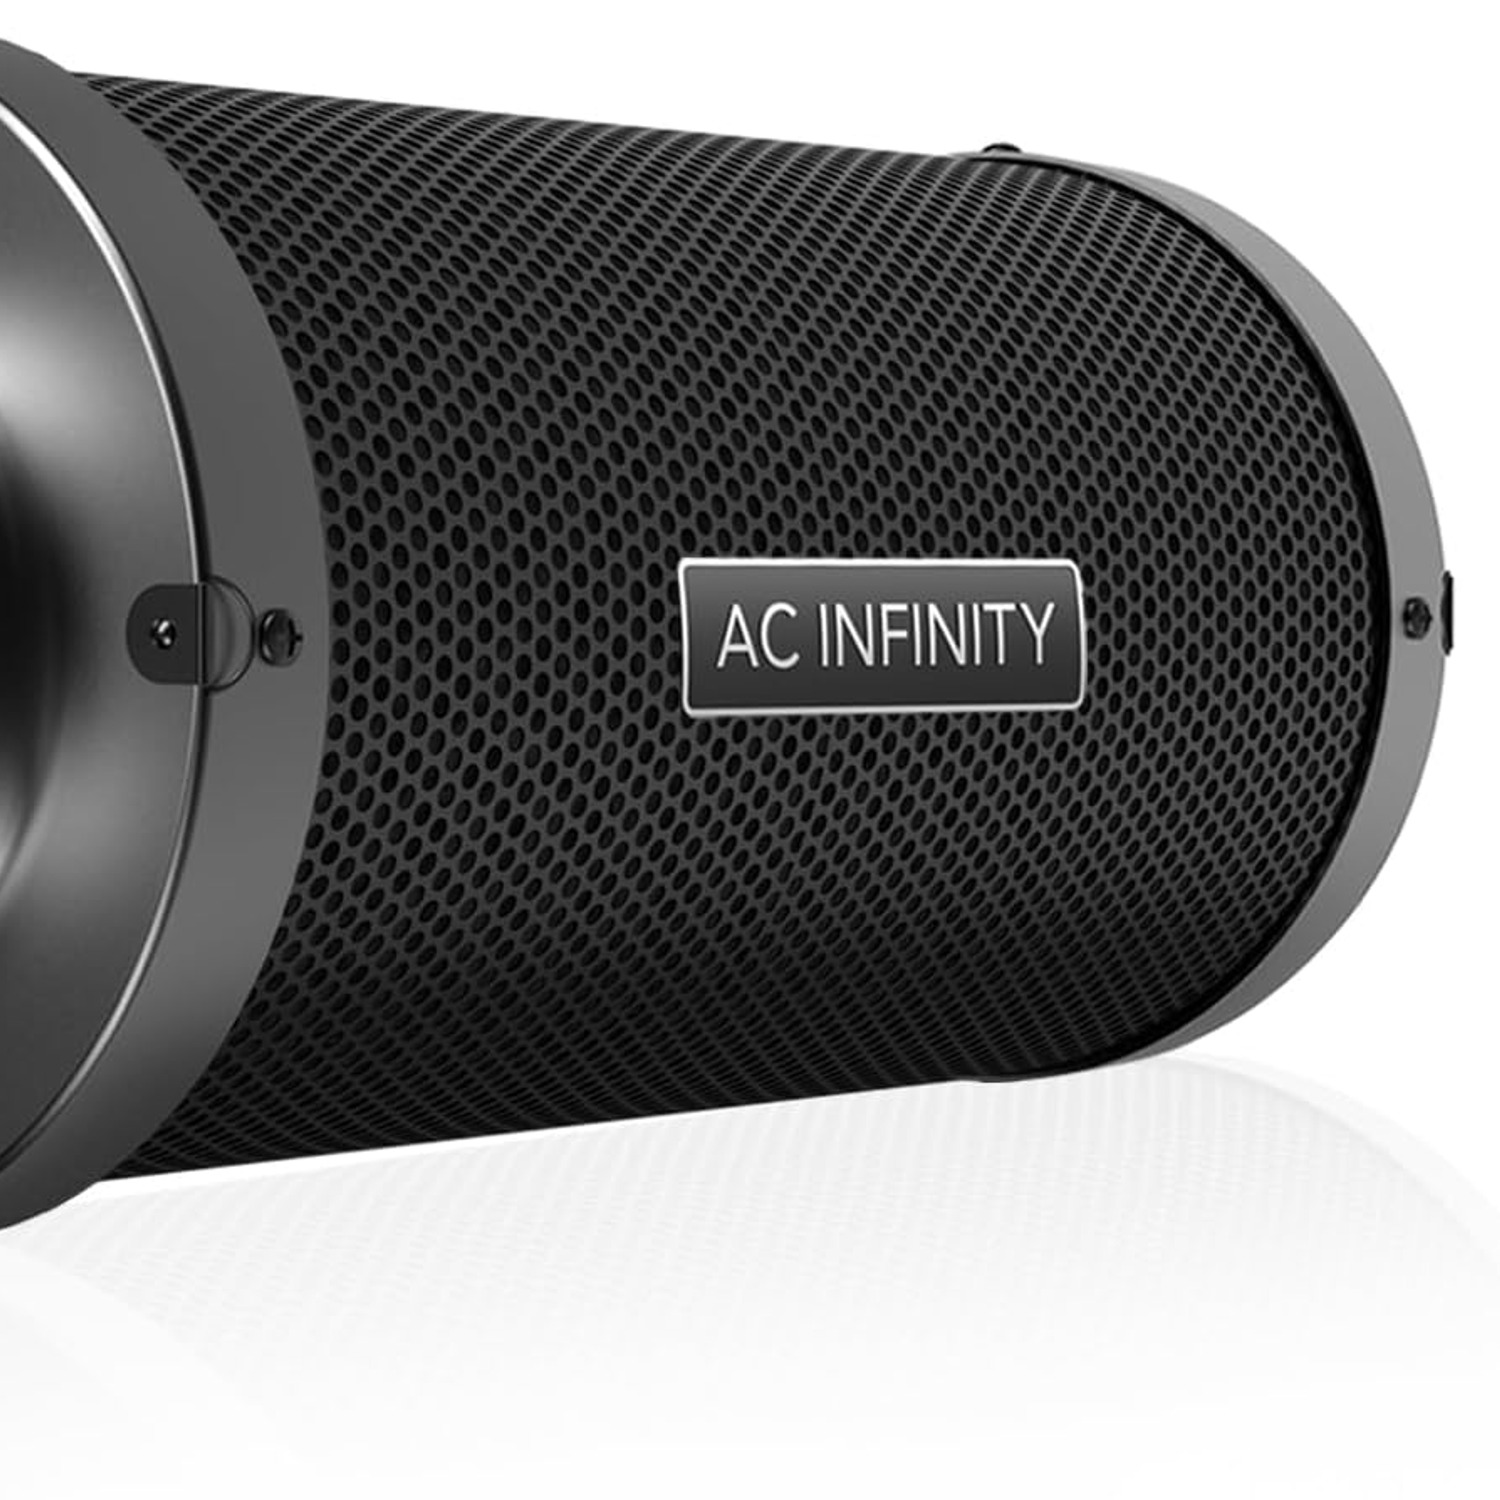
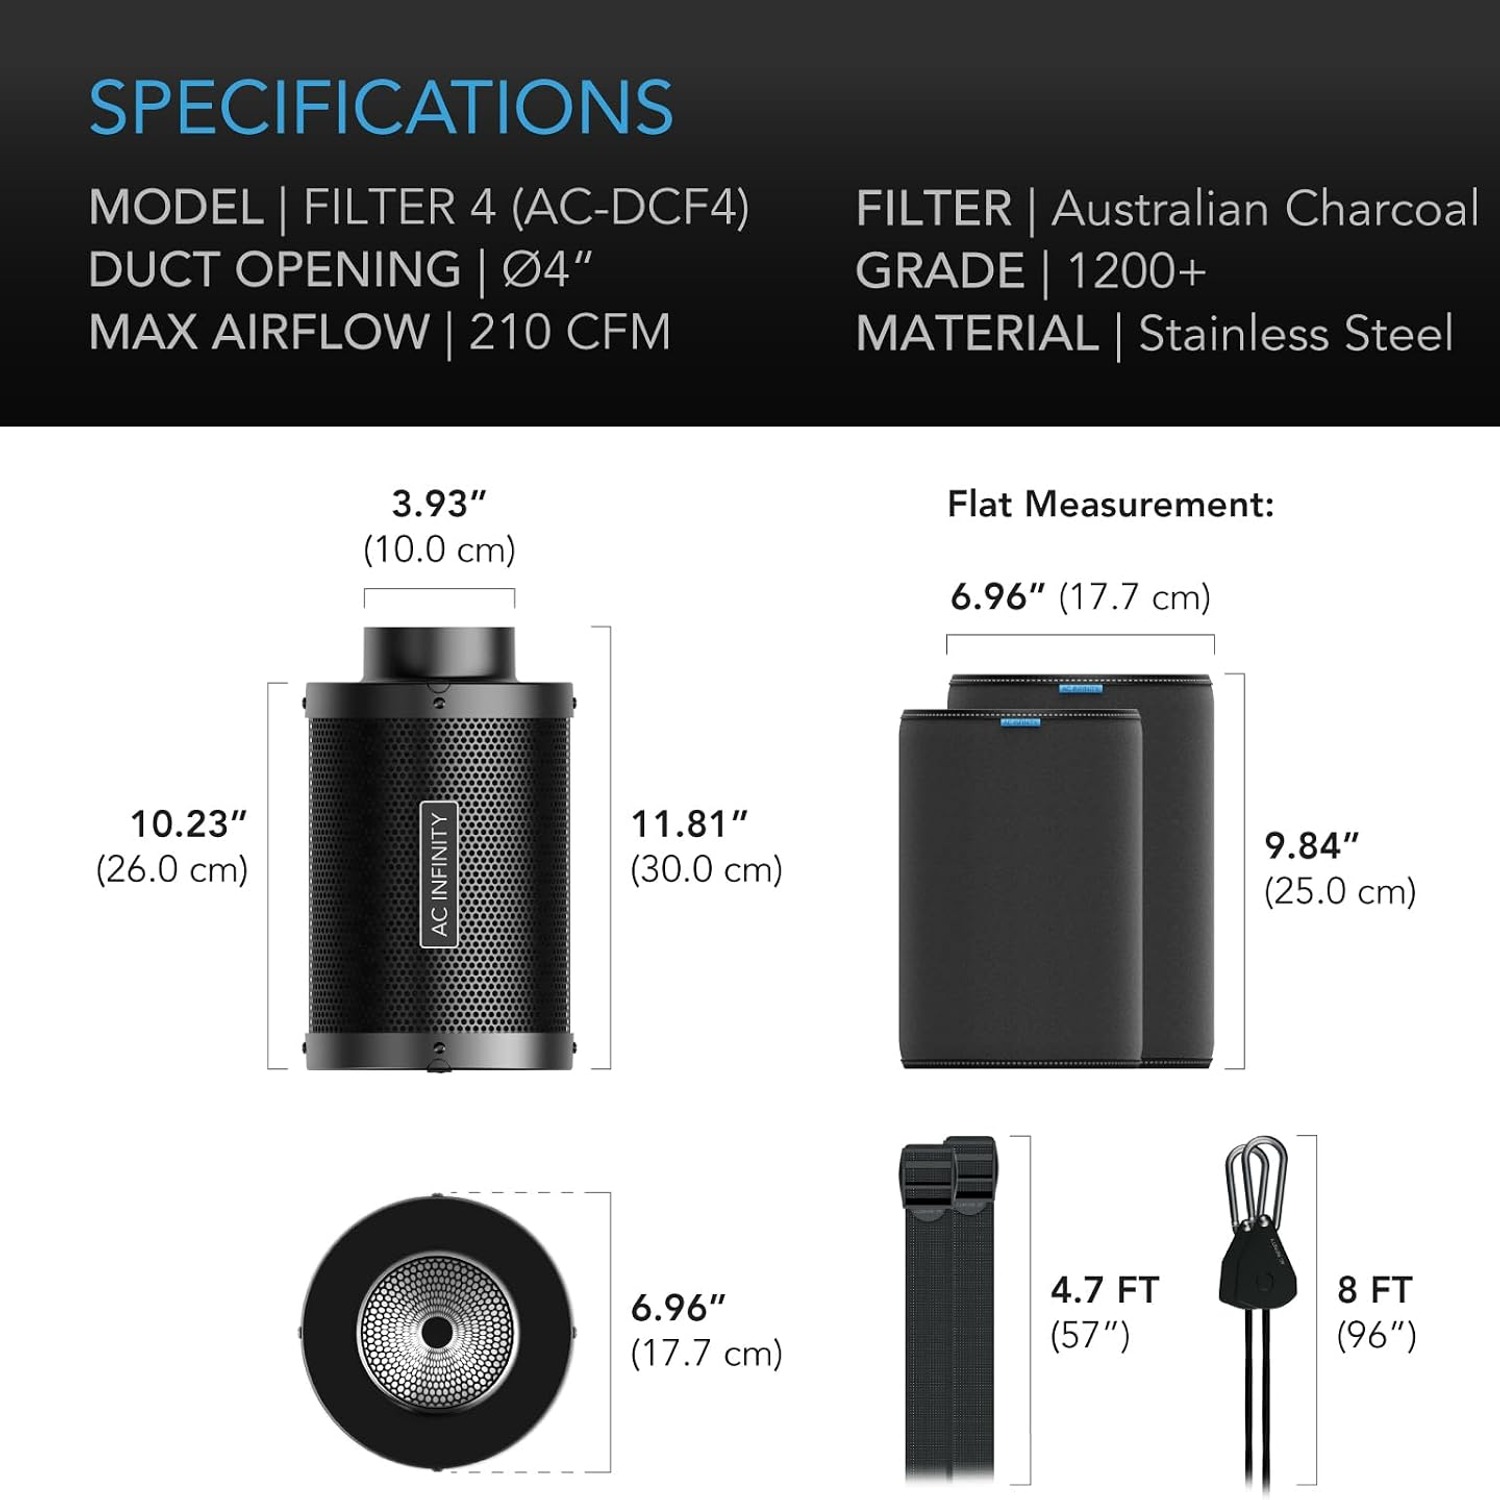
Air enters through the galvanised steel mesh on the outside of the body. It then passes through a 38 mm layer of Australian RC412 charcoal, rated at 1200+ IAV, and out through a second mesh layer into the central duct opening. From there it goes into your ducting.
The duct opening is 4 inches, or 100 mm, which is the size most compact tents and their fans use. The body is 12 inches long, around 30 cm, and the whole thing weighs 2.48 kg. Two hanging straps and two rope clips come in the box, which is usually all you need to suspend it from the top bars of a tent.
The flanges are aluminium and they can be reversed. That is a genuinely useful detail. Carbon beds do not wear evenly, because air tends to find the easiest path and work through one section first. Turning the filter around partway through its life spreads that out.
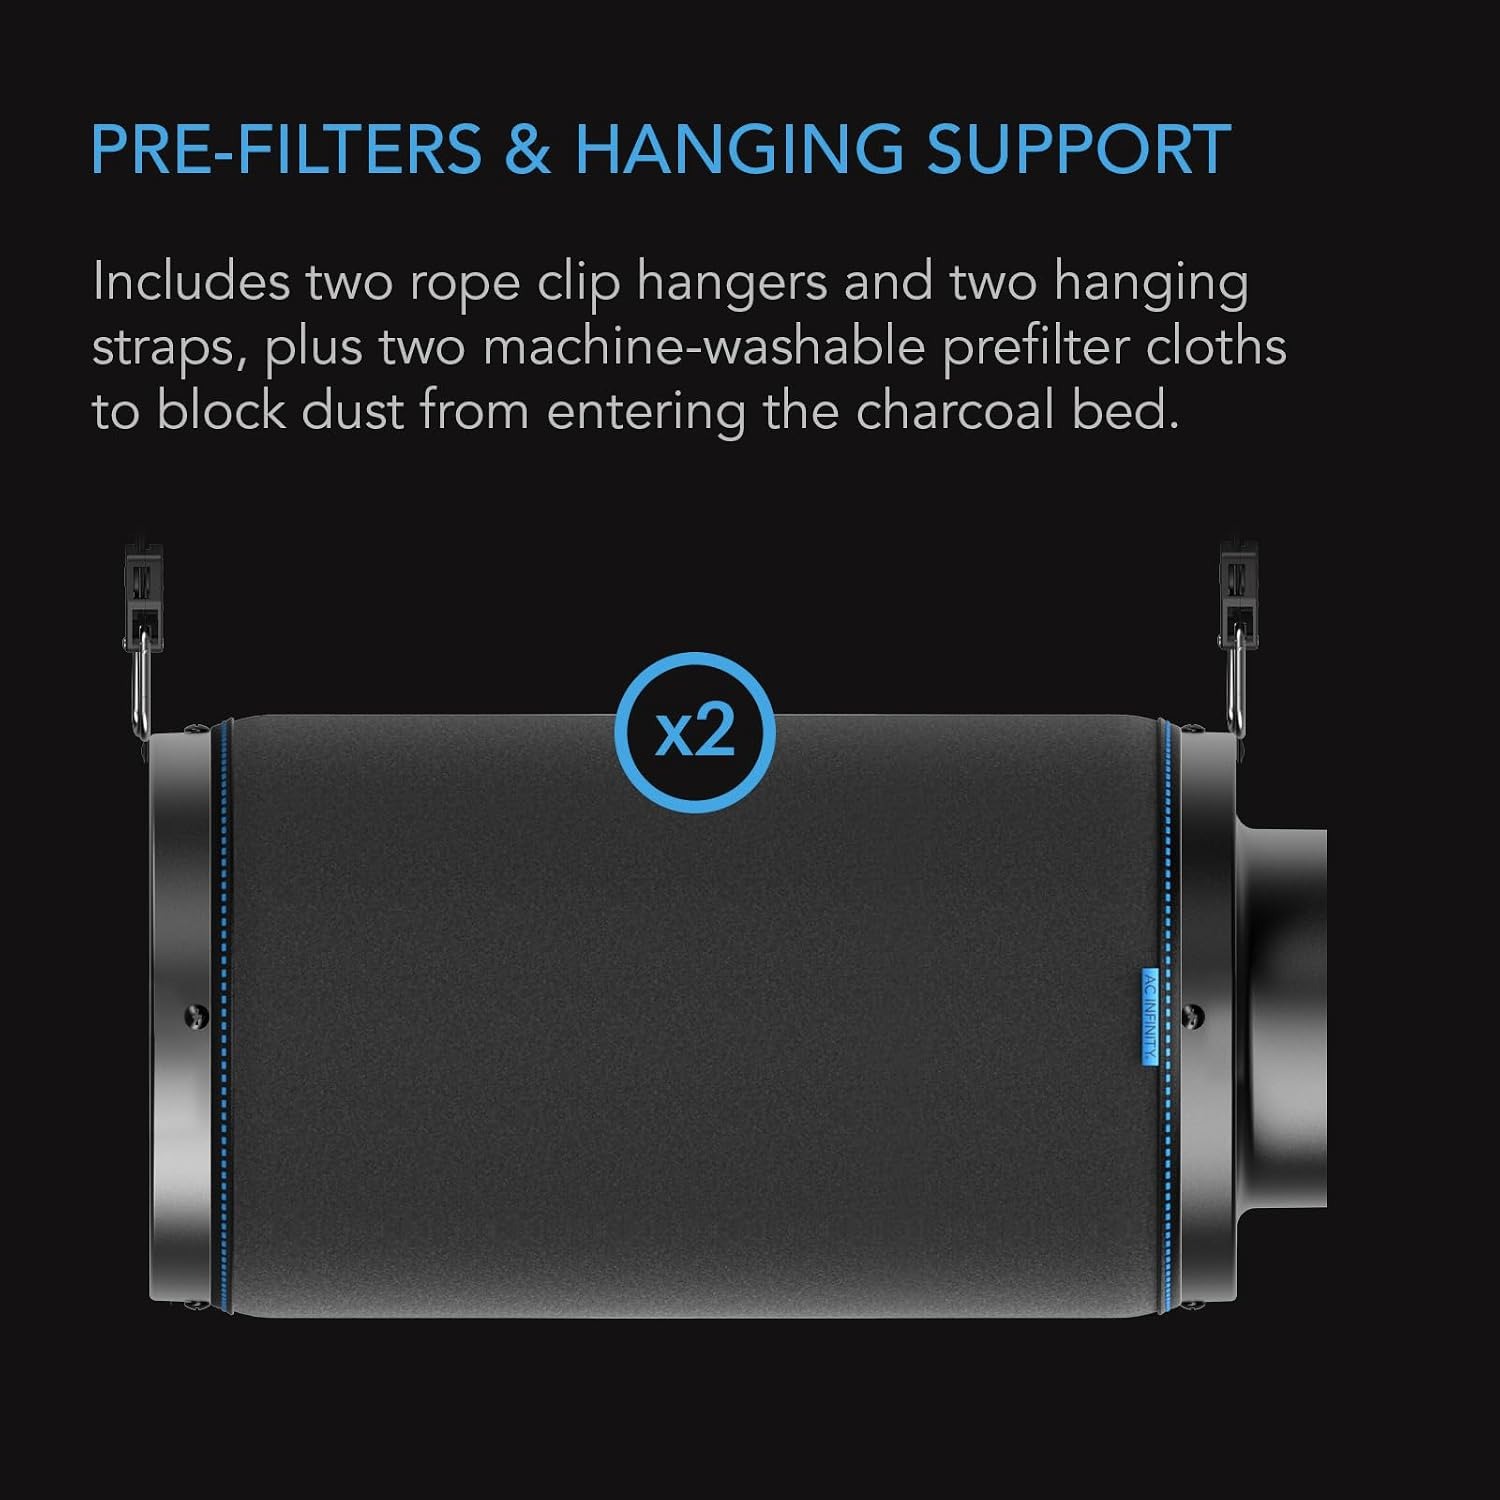
There is also a cloth pre-filter, and two of them are supplied. The sleeve goes over the outside of the body. It catches dust from the tent and any loose carbon residue from inside, which keeps your fan blades and ducting cleaner. Two means one can be washing while the other keeps working.
The fan is a separate purchase
This is worth saying plainly, because it catches people out. A carbon filter has no motor. It cannot pull air through itself. You need an inline duct fan, and that fan is not included with this filter and is not sold here.
So your shopping list is three items, not one. Filter, fan, ducting. Plus a couple of duct clamps, which are cheap and often come with the ducting.
When you pick the fan, look at its airflow figure against the filter's 210 CFM rating. You do not want a fan that massively overshoots, because air that moves too fast through the charcoal has less contact time and the odour control suffers. A fan at or below that rating, ideally one with a speed controller, gives you room to adjust.
Working out whether 4 inch is your size
Duct size follows tent size, roughly. A 4 inch system suits small and medium tents, the kind of footprint you would set up in a spare room, a garage corner or a laundry. Once you get into larger rooms with multiple lights and higher heat loads, you move up to 6 inch and the equipment gets correspondingly bigger.
The easiest check is your existing gear. If you already own a fan, look at its duct diameter. If it is 100 mm, this filter bolts straight into that system. If it is 150 mm, you need the larger filter instead, and adapters are a poor substitute because they choke the airflow.
If you are starting from scratch, think about how much air you want to move. Small tents need the air changed often, but the total volume is low, which is exactly what a 4 inch setup is built for.
Exhaust or intake
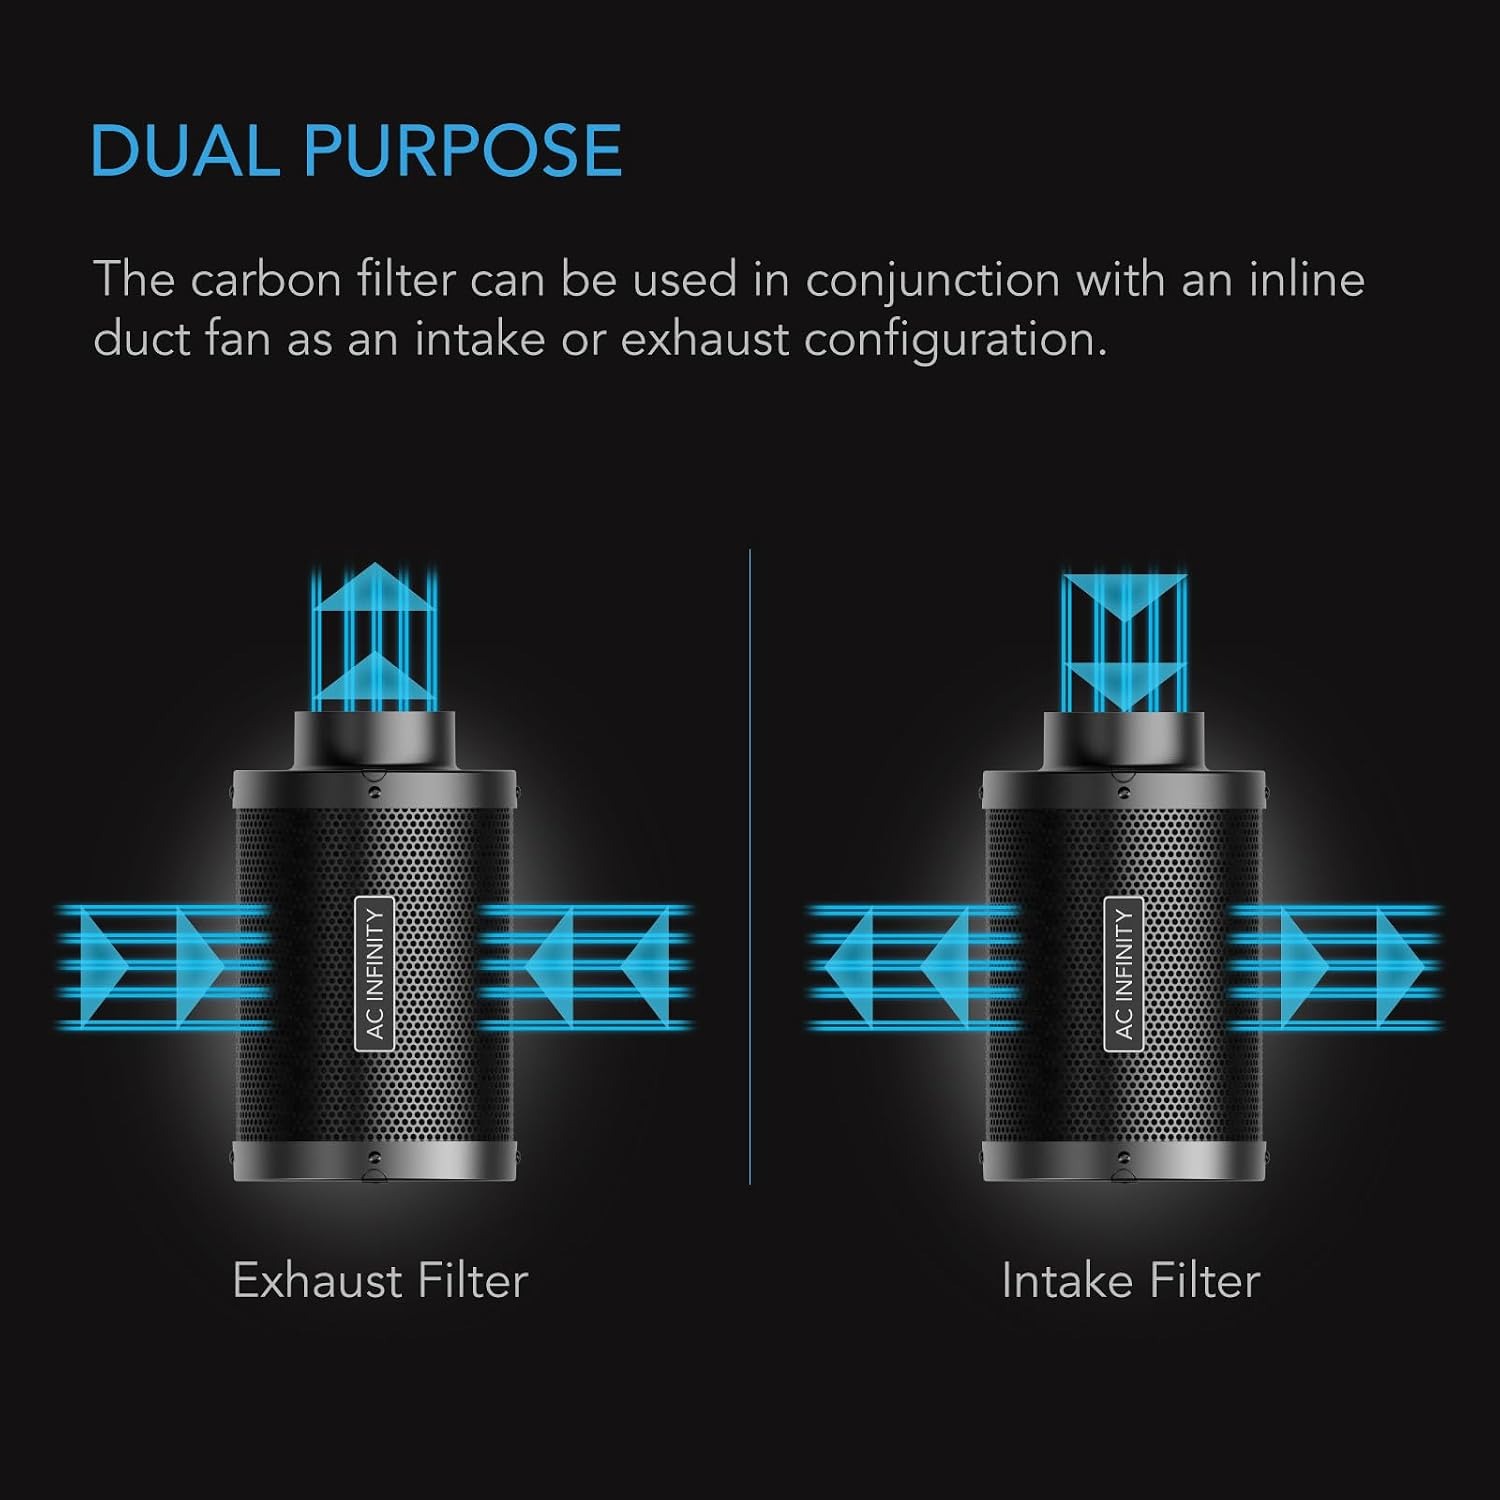
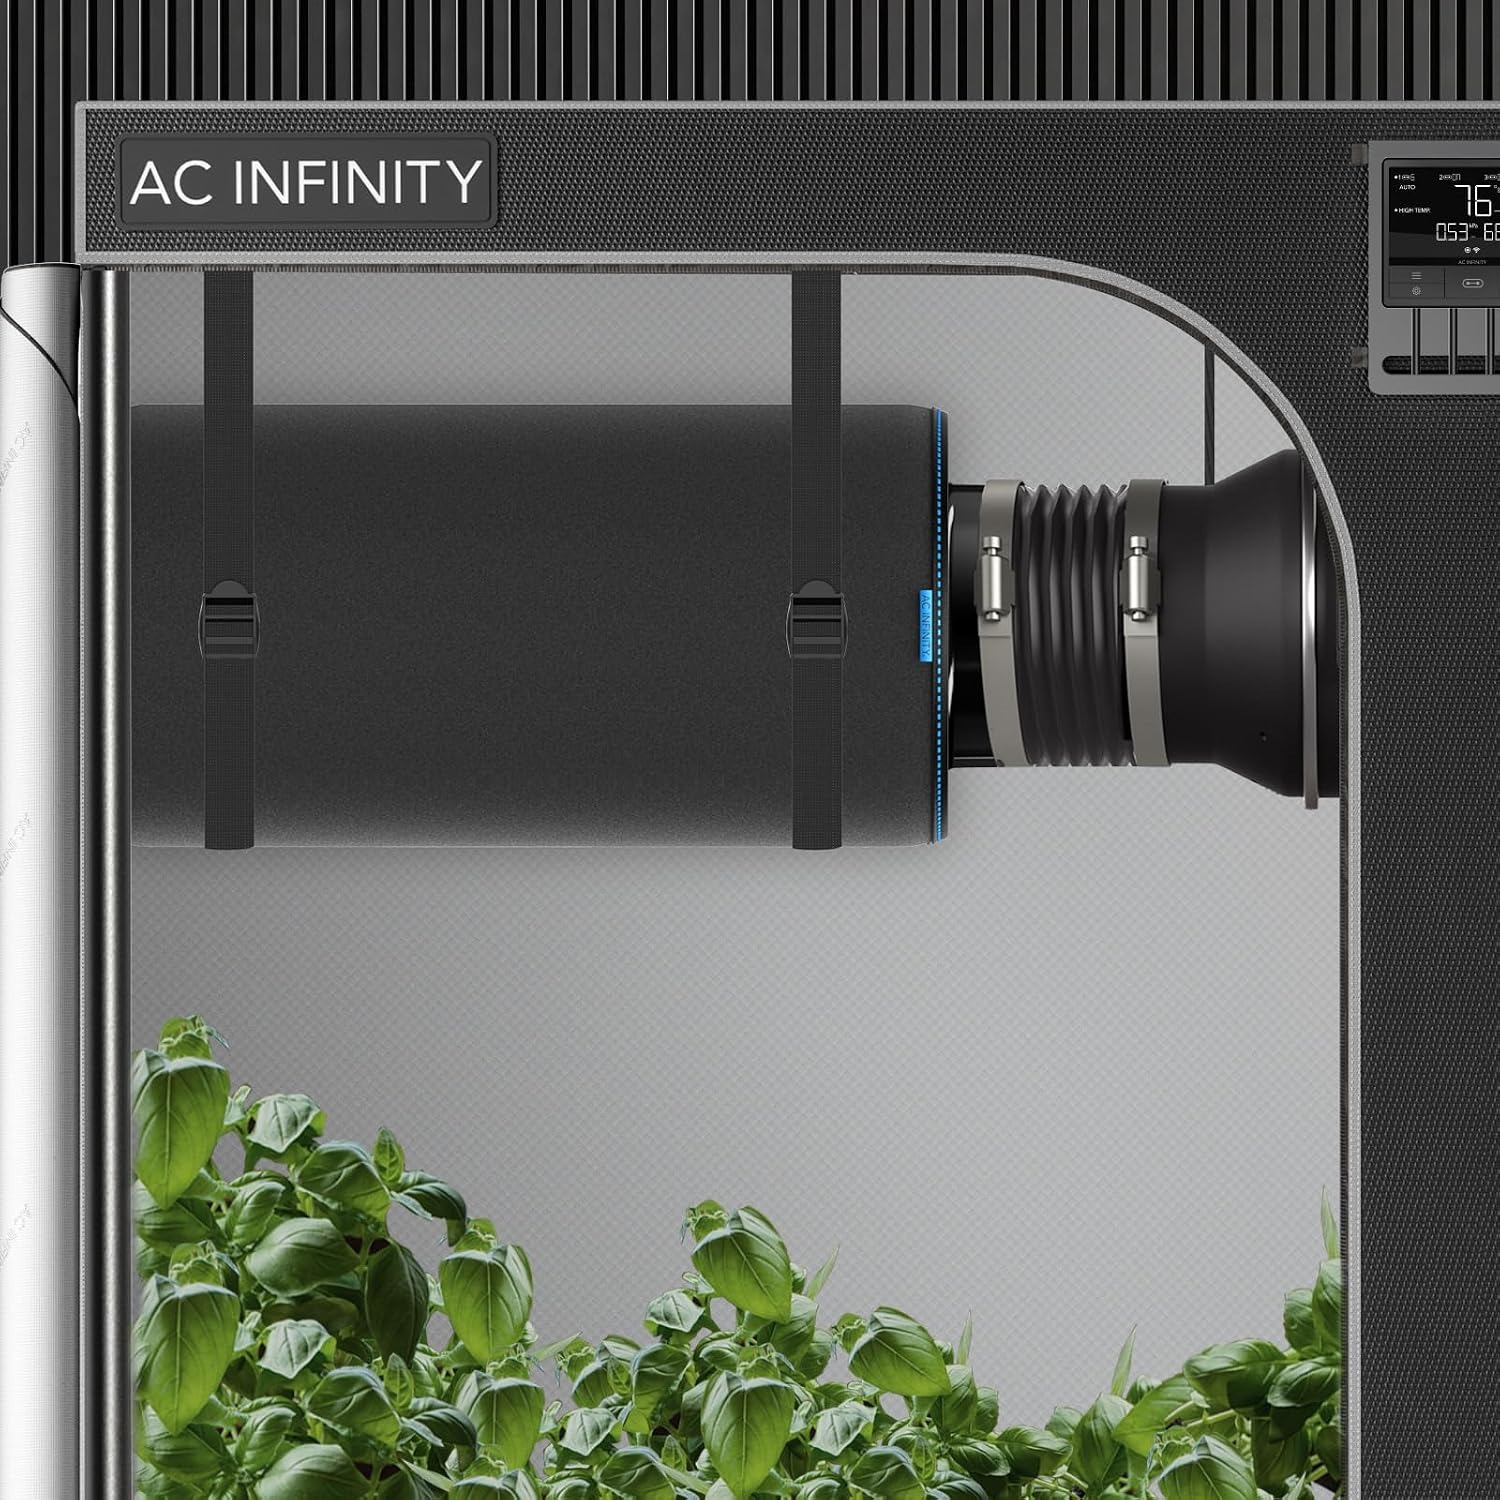
Most people hang the filter inside the tent, high up, with the fan after it. Air is pulled through the charcoal first and then through the fan, then out the duct. That keeps the fan clean and puts the filter where the warm, scented air collects.
You can also run it on the intake side if your layout calls for it, since air passes through the bed in either direction. This is less common for odour work but can help if your incoming air is coming from a dusty or smelly space.
Either way, keep the duct runs short and avoid sharp bends. Every bend costs you airflow, and flexible duct scrunched into a tight corner costs a lot.
Looking after it
Carbon filters are low maintenance, but there are a few things that shorten their working life unnecessarily.
Keep it dry. Charcoal that gets wet is charcoal that is busy holding water rather than odour. Do not spray water near it, do not run it in a tent at extreme humidity if you can avoid it, and never try to rinse the bed out.
Wash the pre-filter when it looks grey. Hand wash or machine wash it, then dry it fully before refitting. A damp sleeve pulls moisture straight into the carbon.
Handle it gently. Dropping a filter can settle the charcoal inside and leave a gap at the top of the bed, which air will then take as a shortcut. Carry it upright and store it upright.
Flip it when it is partway through its life. Unbolt the flange, turn the body around, reconnect. It takes five minutes and makes better use of the carbon you already own.
When it is time to replace
There is no clock on a carbon filter. How long one lasts depends on running hours, how strong the odour load is, and how humid the air has been. A filter running twenty-four hours a day in a damp space will be finished long before one running a few hours a day in dry conditions.
The sign is always the same. Smell starts getting through the exhaust when it did not before. Once that happens, the bed is saturated and no amount of cleaning will bring it back. Replace the whole unit.
A sensible setup checklist
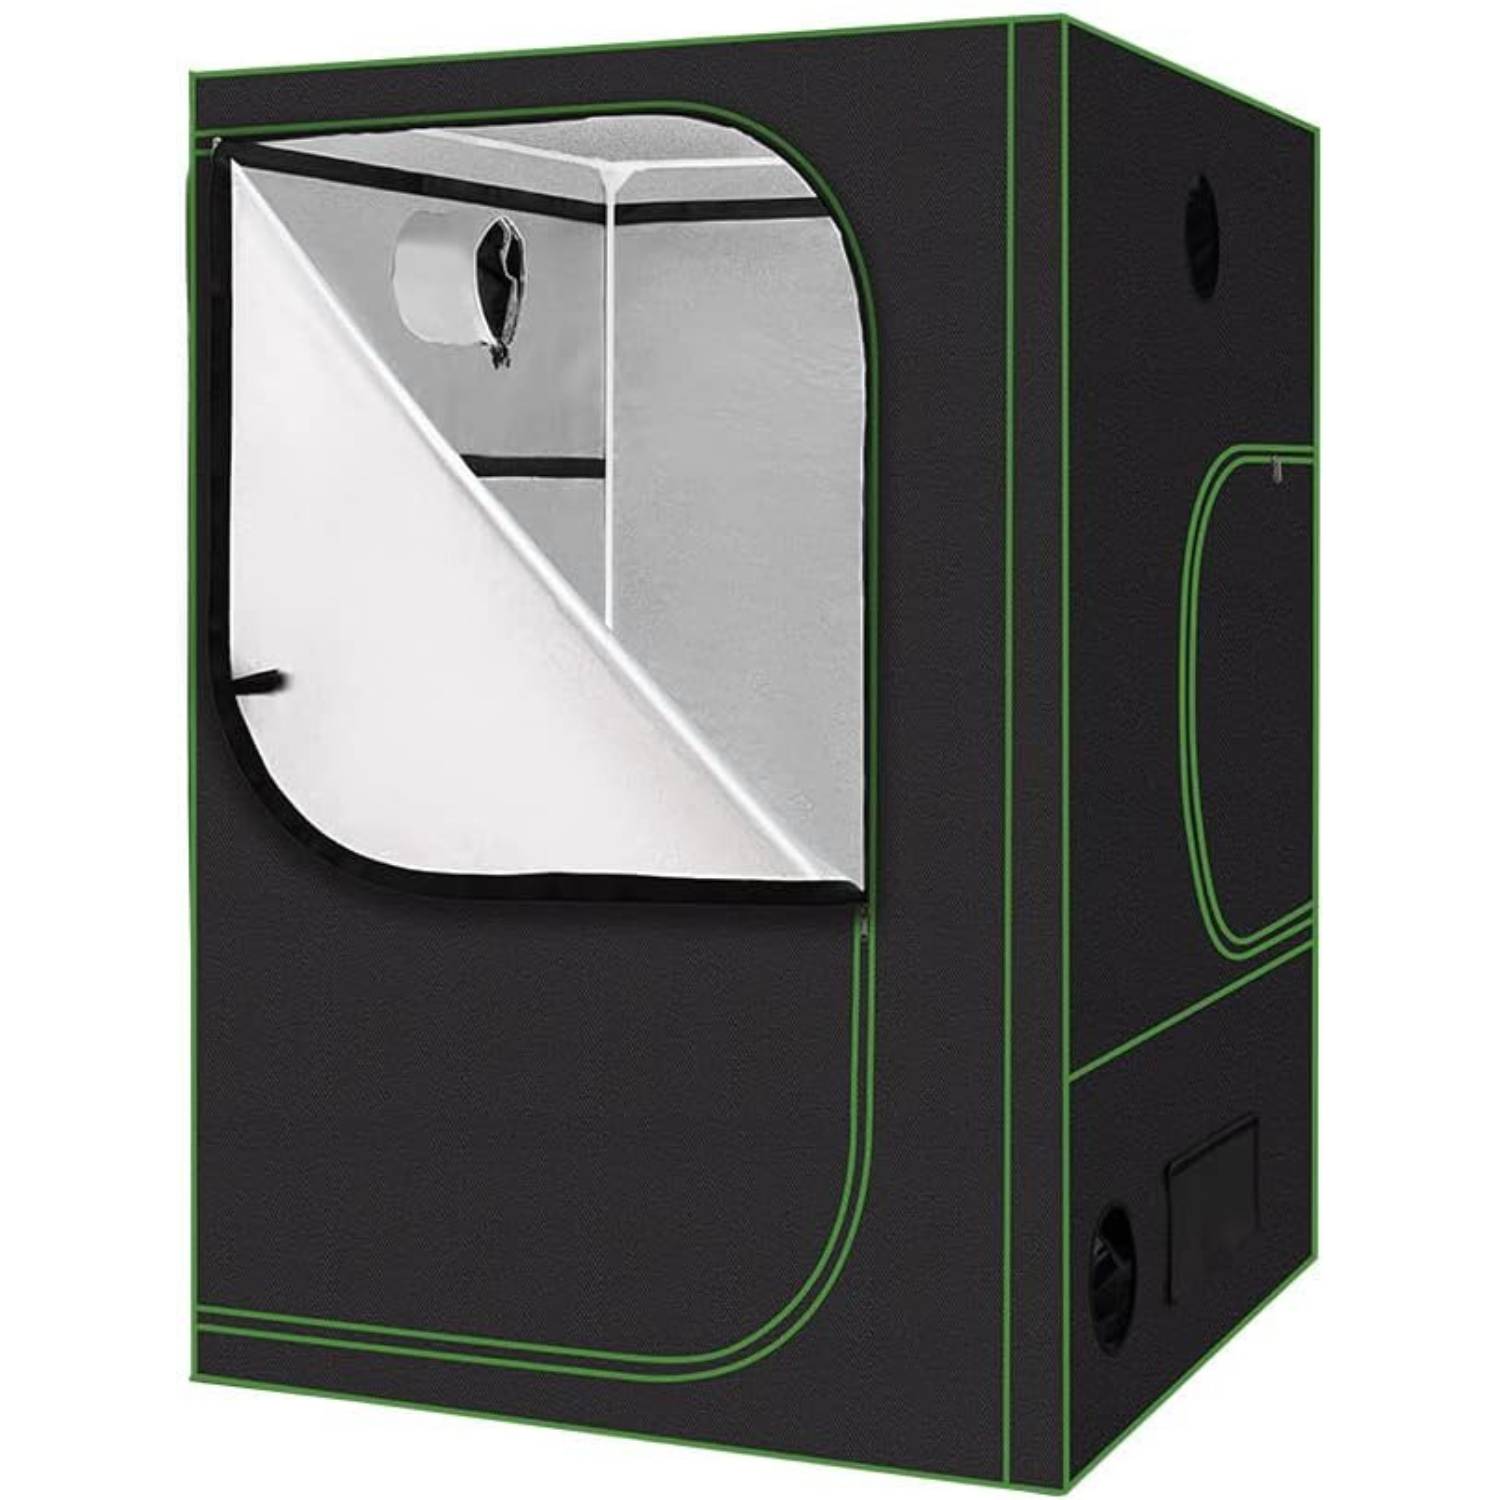
Before you order, confirm four things. Your tent takes 100 mm ducting. You have, or are buying, an inline fan with airflow in a sensible range for 210 CFM. You have enough headroom inside the tent for a 30 cm filter hanging from the top bars. And you have duct and clamps to join it all together.
Once those line up, the install is straightforward. Hang the filter with the supplied straps, slide the pre-filter sleeve over it, clamp the duct to the flange, clamp the other end to the fan, and run the fan outlet to wherever you are venting.
The short version
A carbon filter is the part of a grow tent that keeps the smell where it belongs. This one has a 4 inch (100 mm) duct opening, a 38 mm bed of Australian RC412 charcoal at 1200+ IAV, reversible aluminium flanges, galvanised steel mesh and a 210 CFM airflow rating. It weighs 2.48 kg and comes with two hanging straps, two rope clips and two washable pre-filters.
It does not come with a fan, and we do not sell the fan here, so plan for that separately. Match the fan to the 210 CFM figure, keep the ducting short, keep the filter dry, and wash the pre-filter when it gets dusty. That is most of the job.