
The complete guide
Net Cups Buyer's Guide, Choosing And Using 3 Inch Net Pots
The problem with growing in soil indoors
Soil indoors is messy. It dries out when you forget about it, then stays wet too long when you water it. Roots suffocate, fungus gnats show up, and the pot ends up heavier than the shelf it is sitting on. Anyone who has tried to keep basil alive on a kitchen windowsill through winter knows the routine.
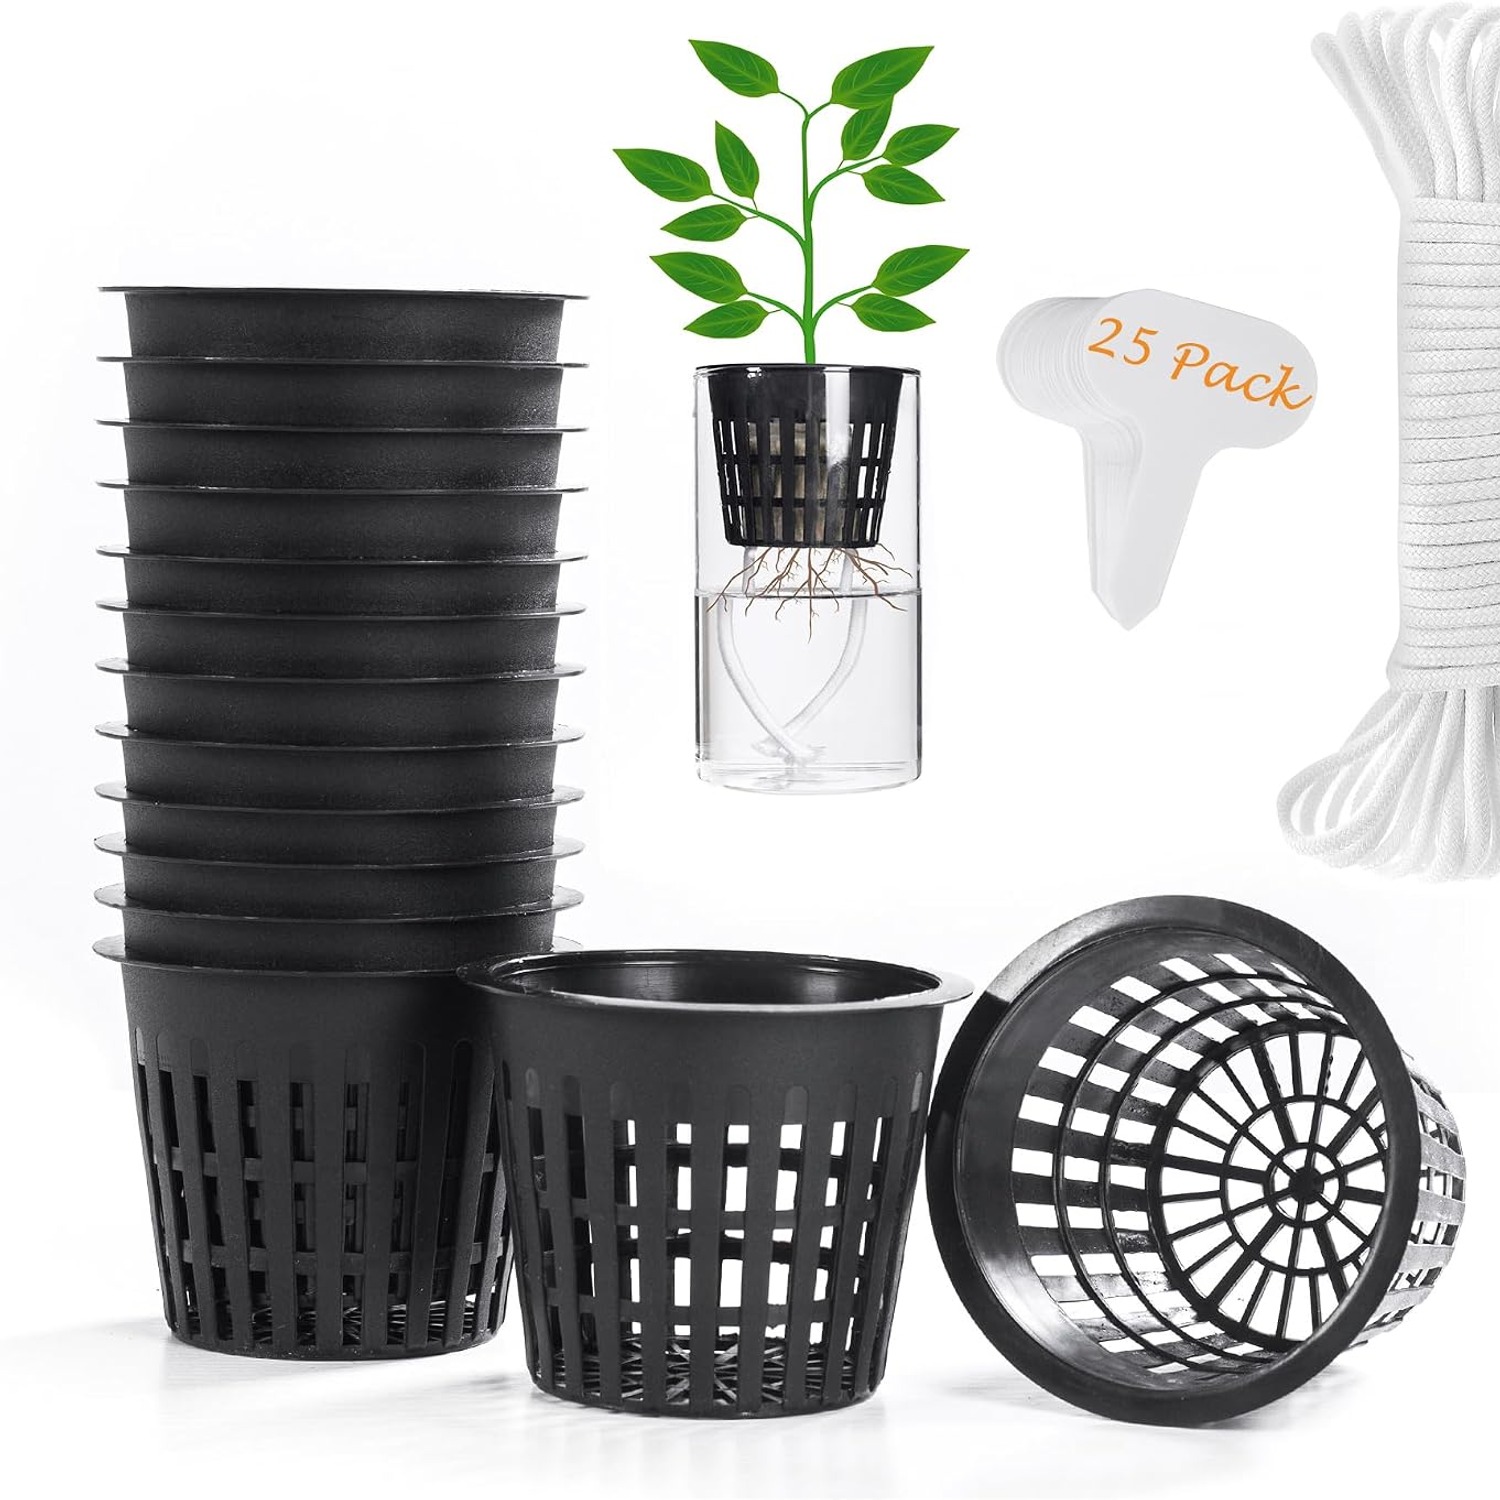
Growing in water solves most of that, but you need something to hold the plant up. That is what a net cup does. It is a small plastic basket, open on the sides, that sits in the top of a jar, bucket or grow bed. The plant and its growing medium go in the cup. The roots grow down through the slots and into the water below. No soil, no gnats, no guessing when to water.
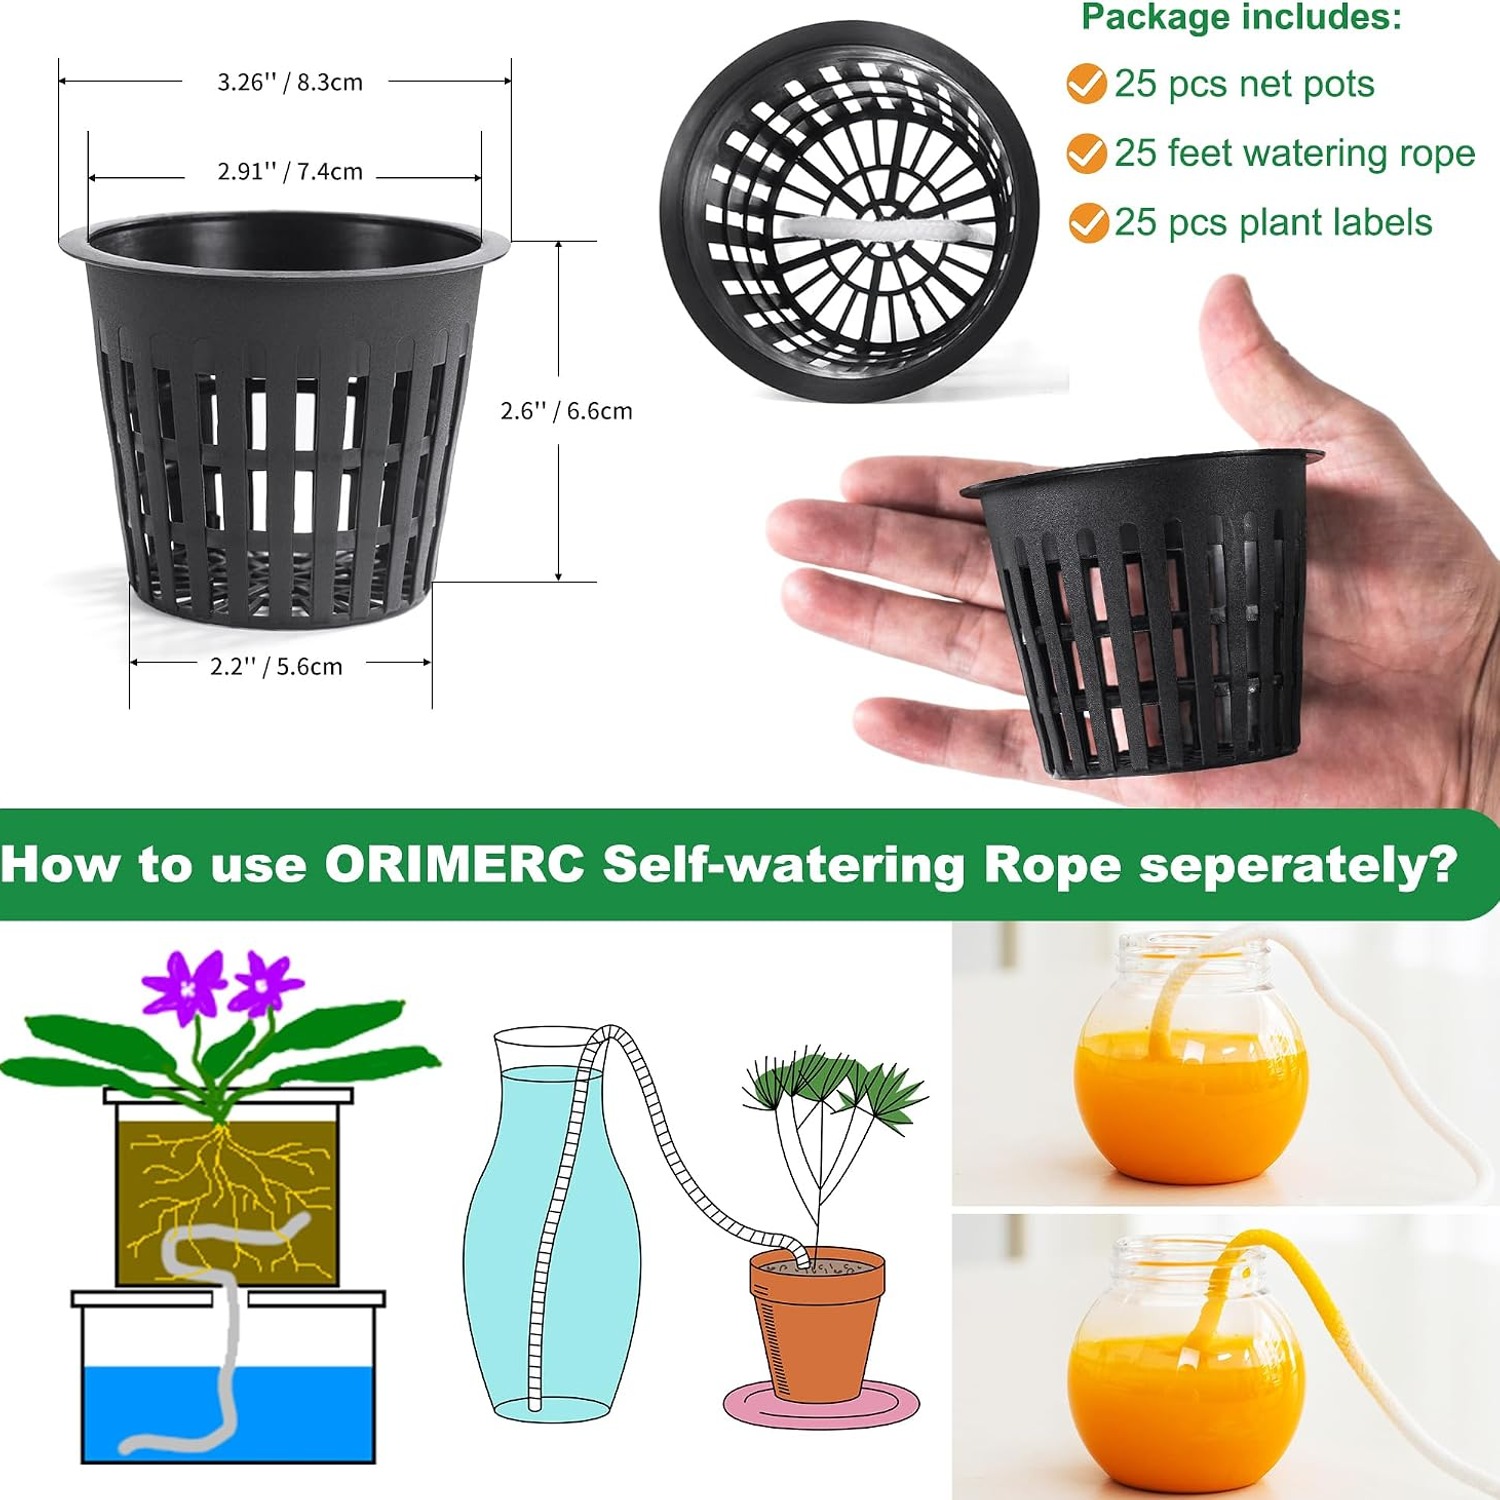
This pack gives you 25 cups in the 3 inch size, which is the size nearly every home hydroponic guide is written around. You also get 25 feet of wick cord and 25 plant labels, so you can run a wicking setup or just keep track of what you planted where.
How net cups actually work
The idea is simple. Water and nutrients sit in a reservoir. The net cup holds the plant above that reservoir, with just the bottom of the medium touching the solution. Roots follow the moisture down, grow out through the slots, and spread into the water.
The slotted walls are the important part. Solid pots trap water and starve roots of oxygen. Open mesh does the opposite. Air moves in from every direction and excess water drains out instead of sitting around the crown of the plant. It is very hard to overwater something in a net cup, which is a relief if your usual houseplant problem is a heavy hand with the watering can.
The medium inside the cup does two jobs. It holds the plant upright and it wicks moisture up from below. Clay pebbles are the most common choice because they are light, reusable and do not break down. Rockwool cubes work well for seedlings. Coco coir and perlite both do the job too. Whatever you use, the slots on these cups are spaced to hold coarse media in place while still letting water move freely.
The wide lip matters more than it sounds. These cups have a 3.2 inch rim, noticeably wider than the body. That means when you drill a hole in a bucket lid or cut one in a foam raft, the rim rests on the surface and the cup stays put. If your hole saw wanders half a centimetre, nothing falls through. Anyone who has lost a seedling into a bucket of nutrient solution understands why this is worth paying attention to.
Who these suit
If you are starting your first hydroponic setup, this is a sensible first purchase. A 25 pack costs less than a single fancy planter and gives you enough cups to experiment across several containers. You can try a mason jar, a bucket and a rain gutter system all at once and see which one suits your space.
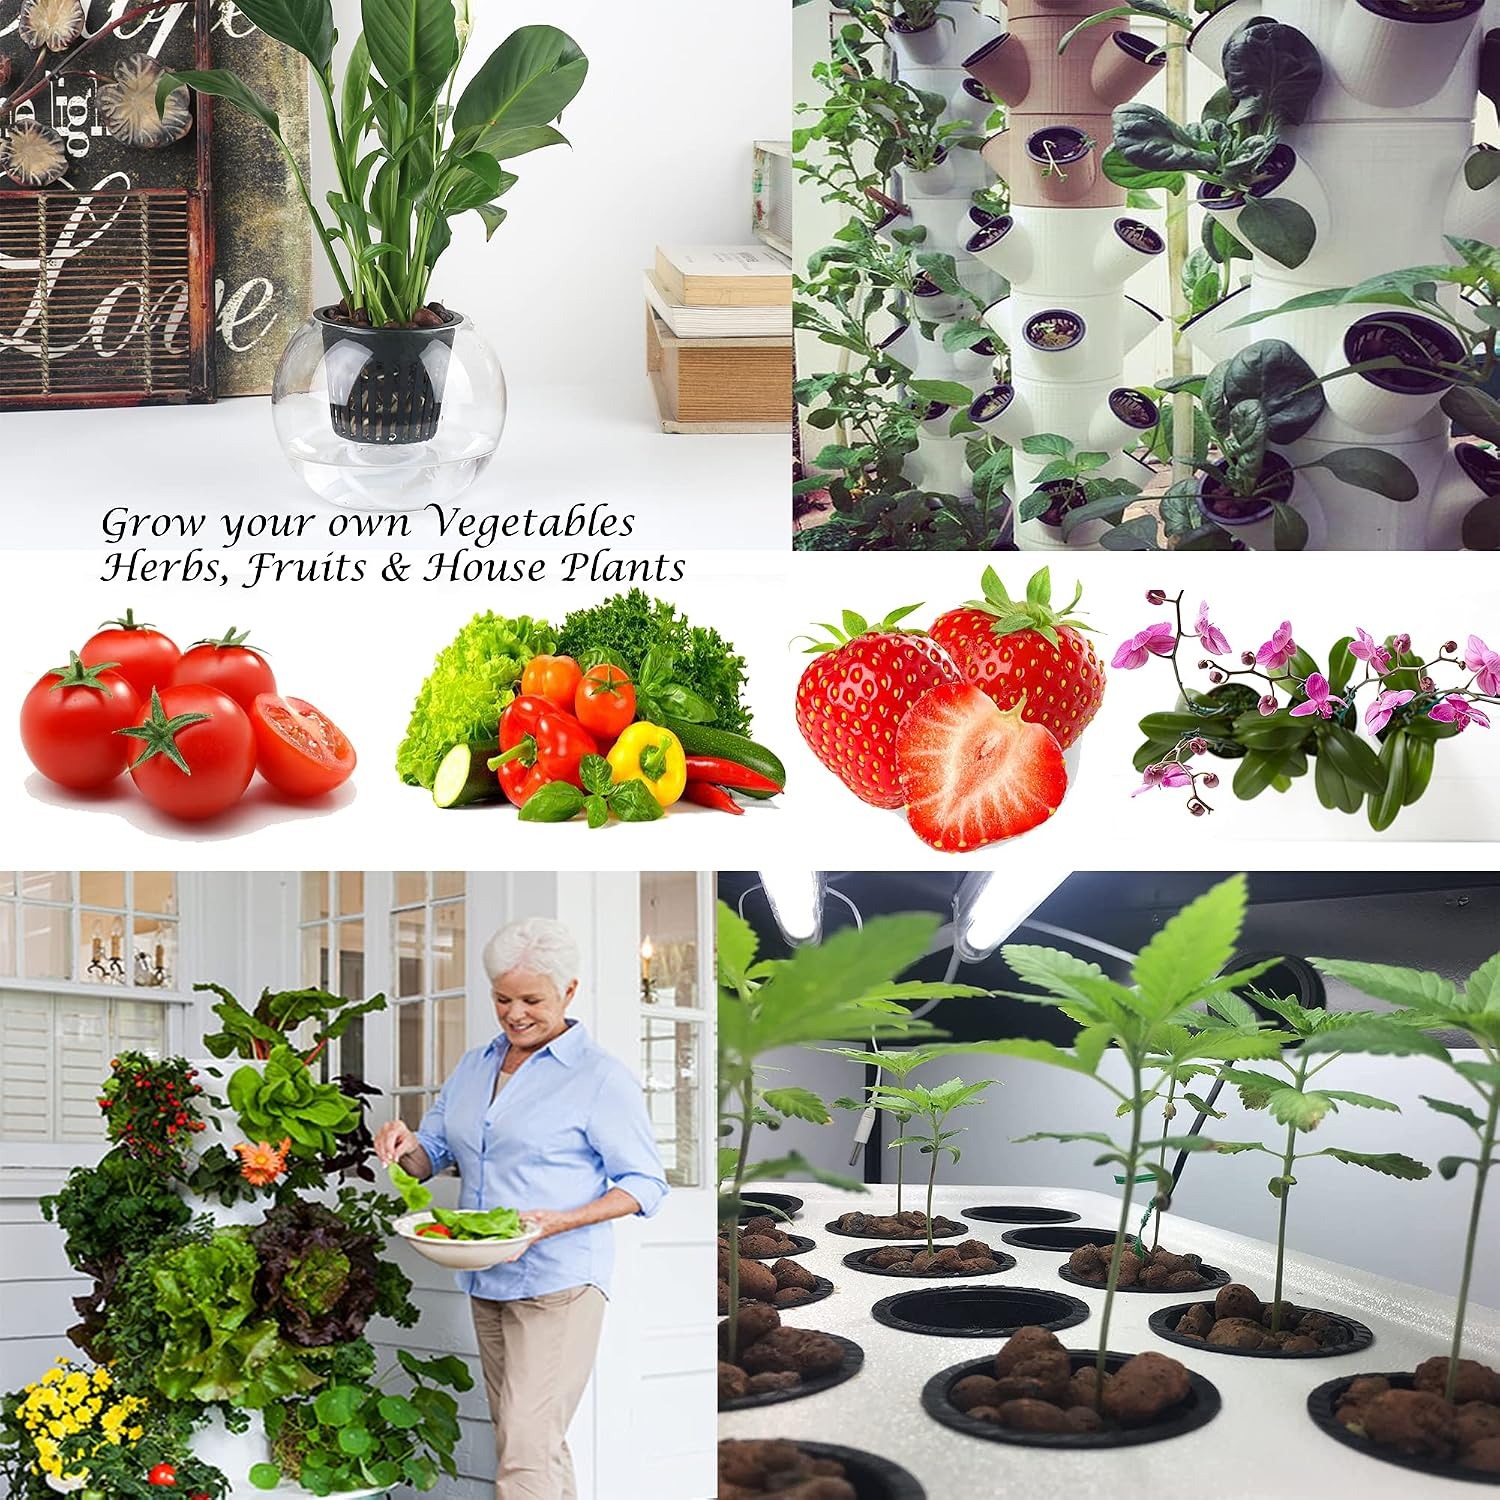
Apartment growers get a lot from them. A row of jars on a windowsill with lettuce or herbs takes up almost no room and produces something edible in a few weeks. Net cups for herbs is one of the most common reasons people buy a pack like this, and basil, parsley and coriander all do well.
Anyone with a greenhouse or a spare shelf under a grow light can scale up. Twenty five cups across two or three grow beds gives you a steady rotation of leafy greens. Plant five cups a week, harvest five a week, and you never run out.
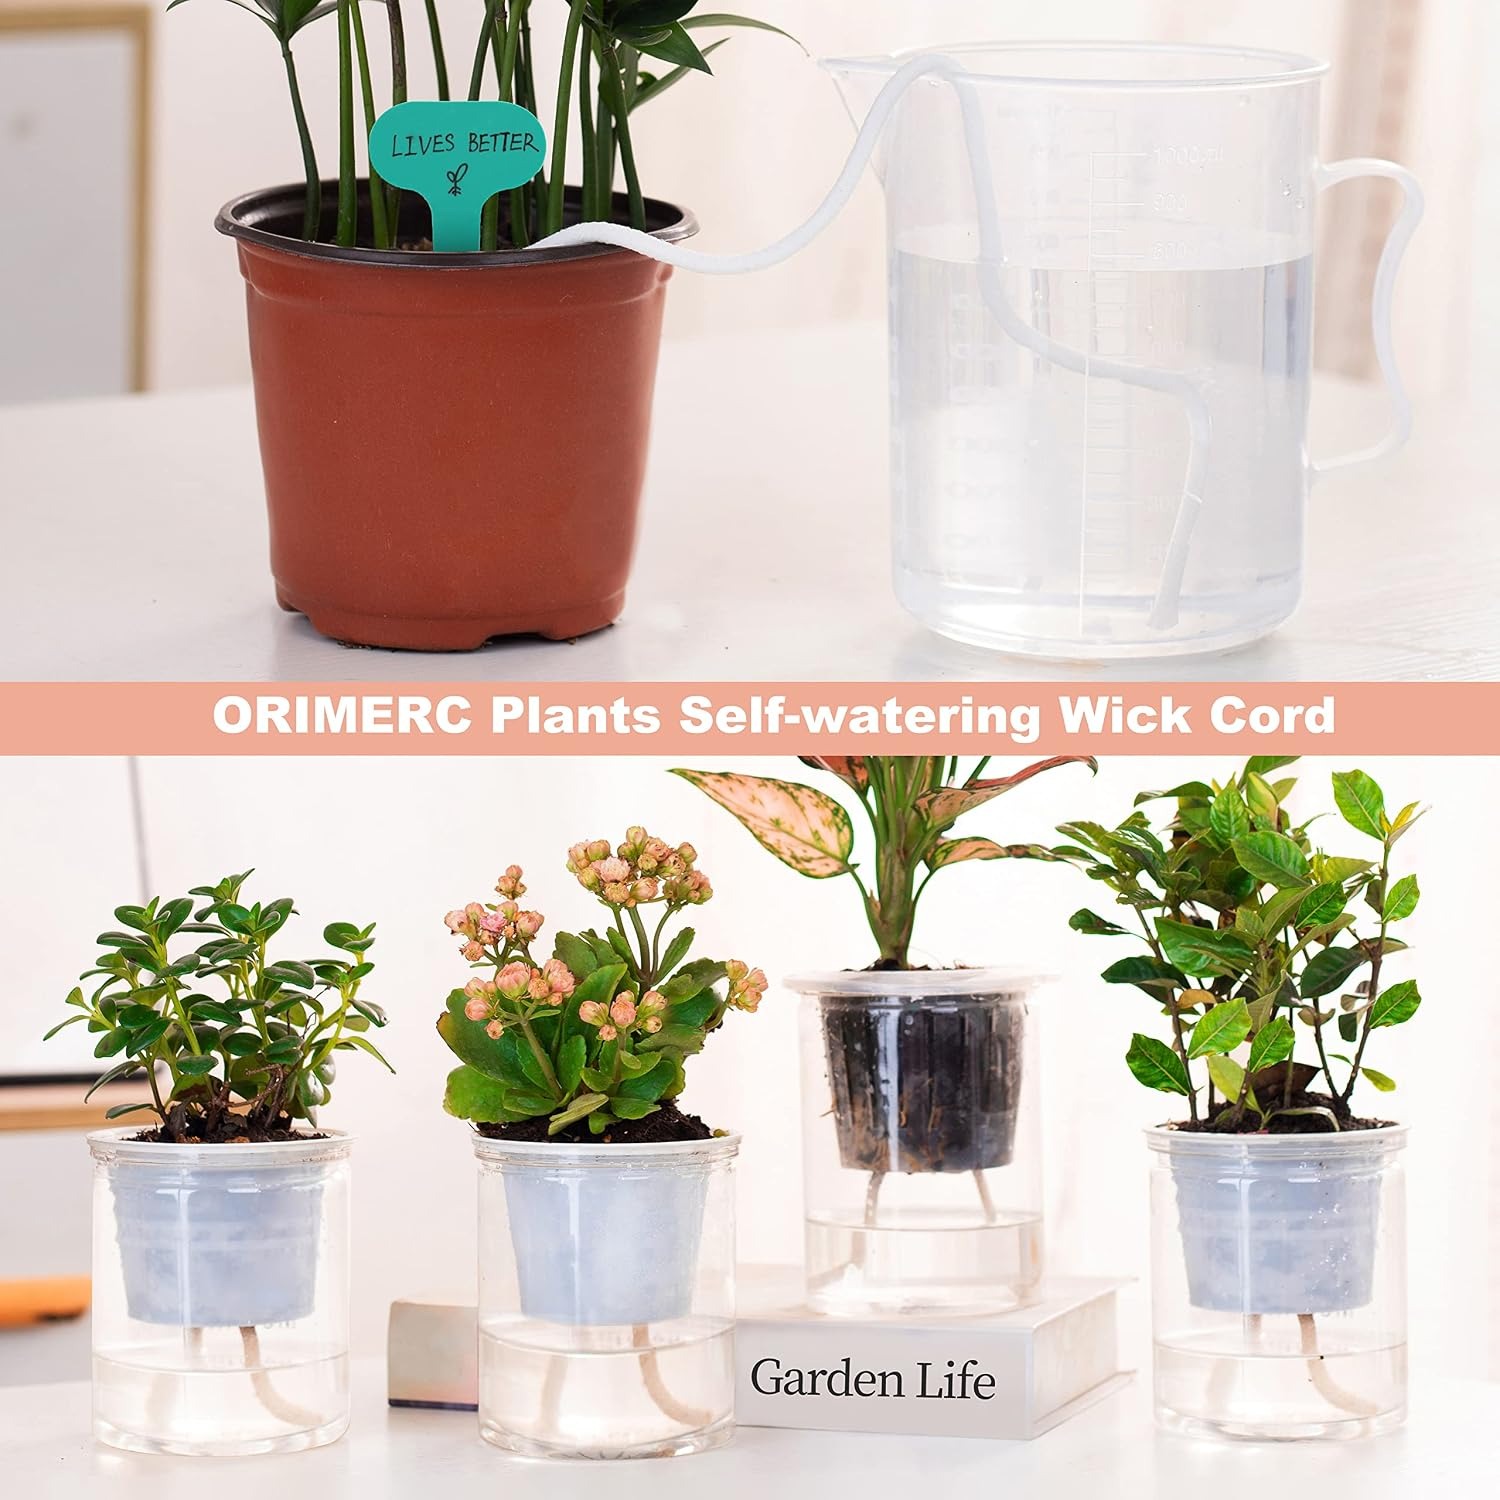
They also suit people who are not growing food at all. Orchids and some other houseplants like an open root zone with plenty of air, and a net cup gives them exactly that. The wick cord included in this pack makes a simple self-watering pot for plants you want to leave alone during a trip.
How to choose the right size and setup
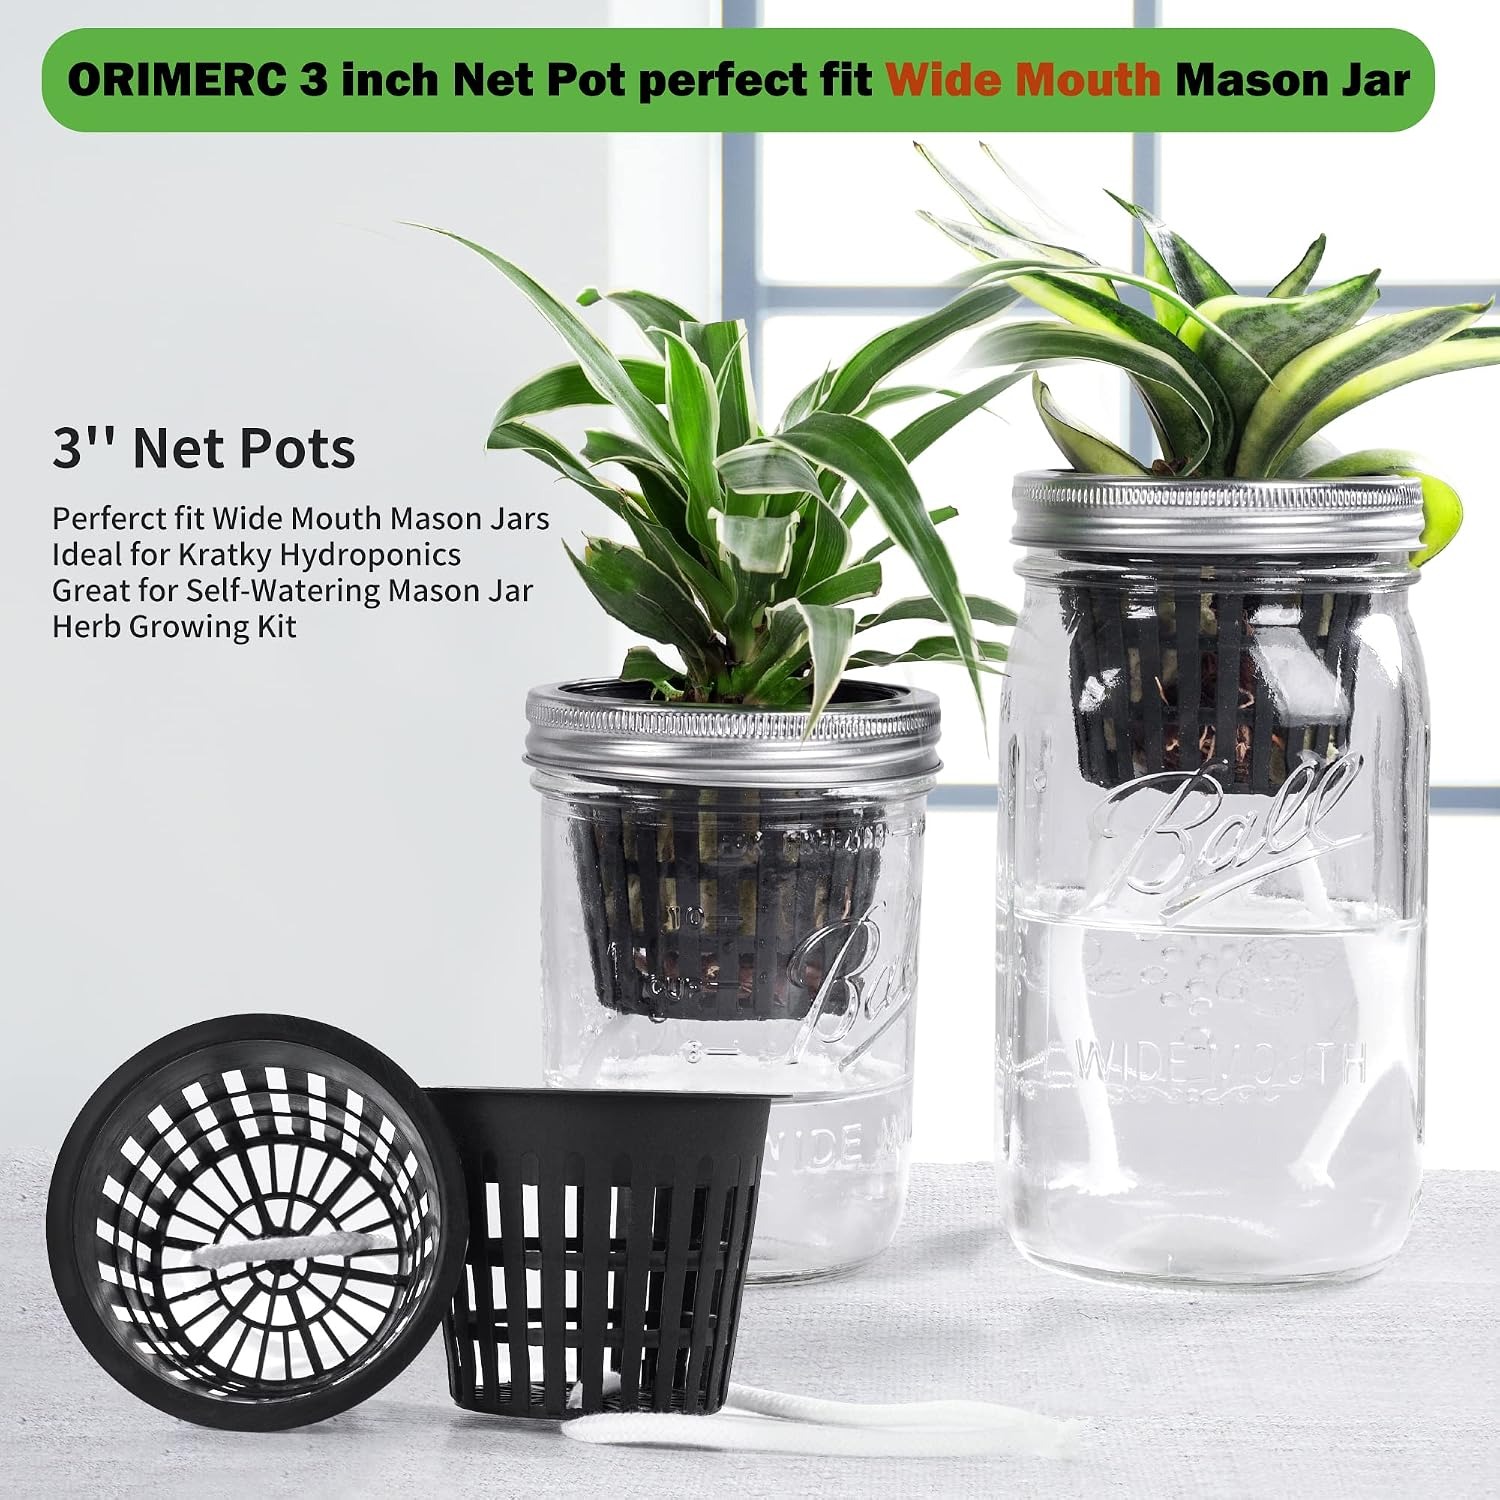
Three inches is the default for a reason. It fits wide-mouth mason jars without any modification, suits standard hole saw sizes, and holds enough medium for most herbs and leafy greens. If you are growing lettuce, spinach, basil or similar, this size is the right call.
Larger plants like full-size tomatoes eventually want more root space, and growers often move those into 5 or 6 inch cups or into a bucket with a larger lid opening. Smaller seedlings can start in 2 inch cups, but then you need to transplant them, which is more handling than most people want.
Before you buy, check what you are planting into. Measure the opening of your jar, bucket lid or grow bed hole. You want the hole to be slightly smaller than 3.2 inches so the lip has something to sit on. If you are cutting your own, a 3 inch hole saw is the usual tool.
Think about how many you need. Twenty five sounds like a lot until you realise a single bucket lid might take four or six cups, and a raft can take a dozen. Having spares means you can plant a new batch before you harvest the old one, which keeps the supply going.
Setting up for the first time
Start simple. Take a wide-mouth jar, fill it with nutrient solution to just below where the bottom of the cup will sit, and drop in a net cup. Add clay pebbles, nestle a seedling or a rockwool plug in the middle, and put it somewhere with good light. That is a working Kratky setup. No pump, no air stone, no electricity.
Top up the solution as the plant drinks it, keeping an air gap between the water line and the base of the cup once roots are established. That gap is what lets the upper roots breathe.
If you want to run a wicking setup instead, thread a length of the included cord through a slot near the base of the cup, leave a short tail in the medium, and run the other end into a water container. Wet the cord first so it starts drawing straight away. Cut the 25 feet into whatever lengths your pots need.
Label everything. Write the variety and the date on one of the included tags and push it into the medium. Three weeks later, when half the tray looks identical, you will be glad you did.
Keeping them clean
After harvest, tip out the medium and rinse the cup under warm water. Roots cling to the slots, so run your fingers or a soft brush through the openings to clear them. If there is mineral residue or algae, a mild dish soap solution and a good rinse will handle it.
Dry them fully before storing. Damp plastic in a sealed box goes musty. Stack them rim to rim and they nest down into very little space.
Clay pebbles can be washed and reused too. Rinse them, soak them if they are heavily coated, and let them dry. Rockwool is generally single use.
The wick cord can be rinsed and dried between uses, though it is cheap enough to cut a fresh length each time. Labels wipe clean with a damp cloth if you used pencil or a water-based marker.
The short version
Net cups are the piece that makes soil-free growing work at home. These are 3 inch, black, slotted, with a 3.2 inch lip that stops them dropping through drilled holes and raft cutouts. You get 25 of them, plus 25 feet of wick cord for self-watering pots and 25 reusable labels.
They suit mason jars, buckets, aquaponics tanks, grow beds and any DIY setup you want to put together. Lettuce, herbs, strawberries and small fruiting plants all grow well in them. Clay pebbles or rockwool go inside, roots go down into the water, and the open mesh keeps air moving where it needs to.
Rinse them out when you are done and plant the next round. That is really all there is to it.